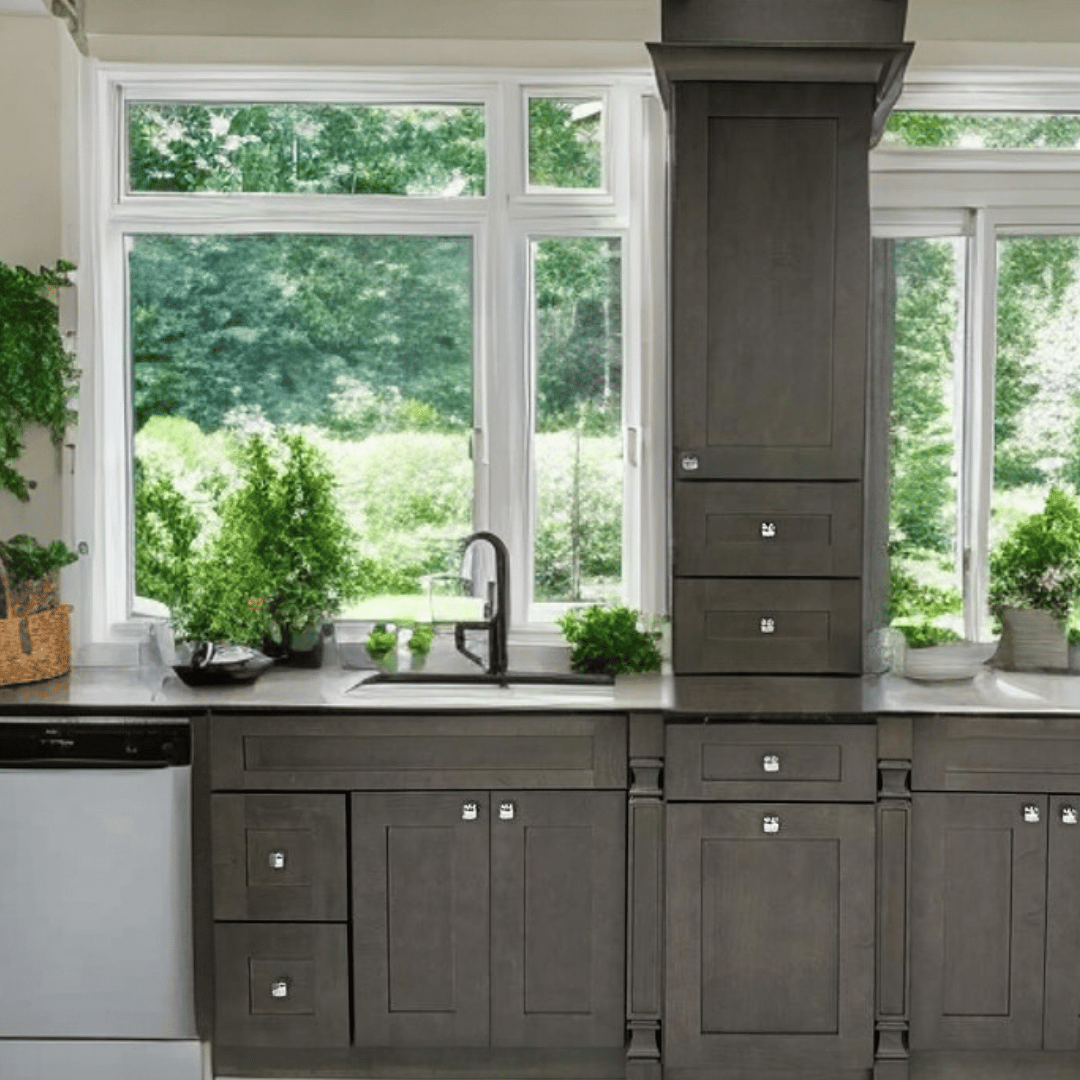
How Kitchen Cabinet Fillers and End Panels Create a Custom Built-In Appearance
A cabinet filler is a narrow strip, finished to match the cabinets, that closes the gap between a cabinet and a wall, appliance, corner or ceiling so doors and drawers can open freely; an end panel is a finished panel that covers an exposed cabinet side. Planned together in a filler plan, they let standard-size stock cabinets fit an exact room and look built in.
Key takeaways
- Stock cabinets come in fixed widths; fillers take up the leftover inches so the run fits wall to wall.
- Fillers are functional, not just cosmetic: they keep doors, drawers and handles clear of walls, casings and appliances.
- End panels finish exposed sides at the end of runs, beside appliances and on islands.
- Plan every filler and panel on the drawing before ordering; missing pieces are a common cause of late-job delays.
- Fillers and panels in the same finish as the doors are what make stock cabinets look custom.
Cabinet Fillers Explained
Kitchen cabinet fillers are narrow pieces finished to match the cabinet face frames. They fill gaps between cabinets and walls, appliances or other cabinetry, and they are ripped to width on site so the cabinet run fits the room exactly. Common types:
- Wall filler: between the last cabinet and a wall, so a door or drawer can open past the wall, a window casing or a door casing.
- Corner filler: where two runs meet at an inside corner, so drawers and handles on one run do not collide with the other.
- Appliance filler: beside a refrigerator or range so doors and handles clear the appliance.
- Ceiling or top filler: between the top of wall cabinets and the ceiling, often combined with crown molding.
- Base filler with a pull-out: a wider gap can hold a narrow spice or tray pull-out instead of a plain strip.
End Panels Explained
End panels are finished panels attached to the sides of cabinets where the side would otherwise show. They cover the box side with a surface that matches the doors and frame. Common uses:
- End of a run: the last cabinet next to a walkway or doorway.
- Dishwasher panel: when a dishwasher sits at the end of a run, a panel closes the side and gives the countertop something to rest on.
- Refrigerator panels: tall panels on one or both sides of the refrigerator, often with a deep wall cabinet above, give a built-in look.
- Island back and ends: panels cover the back of base cabinets on the seating side and the island ends.
- Wall cabinet ends: where an upper cabinet stops in open space, such as next to a window or a range hood.
How to Build a Custom Filler Plan
A filler plan is a drawing that shows every cabinet, filler and panel with its width, so the order is complete and the run fits the first time. To build one:
- Measure wall to wall at the countertop height and at the wall cabinet height; walls are often not parallel, so measure at both.
- Locate fixed points: sink center, range and refrigerator openings, windows and doors.
- Lay out cabinets in standard widths around the fixed points.
- Assign the leftover inches to fillers, placed at walls and corners where they are needed for clearance, not in the middle of the run.
- Check clearances: every door, drawer and handle must open past walls, casings, appliances and adjoining runs.
- Add panels for every exposed side, the dishwasher, the refrigerator and the island.
- Add trim: toe kick, crown, light rail and scribe molding.
- List it all on the order so nothing is missing on install day.
Where You Need Fillers and Panels
| Location | What to use | Why |
|---|---|---|
| Cabinet against a wall | Wall filler, scribed to the wall | Doors and drawers clear the wall and casing |
| Inside corner | Corner filler on one or both runs | Drawers and handles do not collide |
| Beside refrigerator | Filler or tall panel | Refrigerator door and handles open fully |
| Dishwasher at end of run | End panel | Finishes the side and supports the countertop |
| Exposed cabinet side | End panel | Covers the box side with a door-matched finish |
| Island seating side | Back panels | Finishes the backs of the base cabinets |
| Wall cabinets to ceiling | Top filler and crown | Closes the gap and hides an uneven ceiling |
For step-by-step installation of fillers, including ripping, scribing and fastening, see the cabinet filler installation guide.
Choosing the Right Fillers and Panels
1. Match the Finish
Fillers and panels should come from the same line and finish as the cabinets, so color and sheen match under the kitchen lights. A filler painted on site rarely matches a factory finish exactly.
2. Style
Flat panels suit shaker and modern doors. For a more furniture-like look, some lines offer panels that repeat the door profile; check what is available for your style.
3. Width and Fit
Plan fillers wide enough for clearance but not so wide they look like a mistake. If a gap is large, consider a narrow cabinet or a pull-out instead of a wide plain filler.
4. Function
Where a gap is wide enough, a narrow pull-out for spices, oils or trays turns a filler into storage.
Installation Tips for Fillers and Panels
- Scribe to the wall: walls are rarely straight; trace the wall line onto the filler and plane or sand to it.
- Attach from inside the cabinet through the face frame so no screws show.
- Keep panels flush and plumb with the face frames; a panel that leans shows from across the room.
- Carry the toe kick through fillers and around panel ends so the base line does not break.
- Finish edges with scribe molding where a panel meets an uneven wall or floor.
Level, square cabinets make all of this easier; see shimming techniques for aligned cabinet runs.
Fillers vs. End Panels at a Glance
| Feature | Fillers | End panels |
|---|---|---|
| Primary job | Close gaps and provide clearance | Finish exposed cabinet sides |
| Typical size | Narrow strips, ripped to width | Full cabinet height and depth |
| Where used | Walls, corners, appliances, ceilings | Run ends, dishwasher, refrigerator, island |
| Installation | Scribed and screwed through face frames | Fastened to the cabinet side, kept flush and plumb |
Fillers and Panels With CCC Cabinets
CCC Cabinets stocks 15 door styles in Des Plaines for contractors, builders and designers. Every style uses the same construction: 3/4-inch birch face frames on 1/2-inch A-grade plywood boxes with full-overlay doors, so fillers and panels align with a consistent frame. When you place an order, include fillers, panels and molding for your style on the order so the finish matches; the CCC team can confirm what is available for each style. Compare styles such as Pure White, Light Grey and Millennium White in the cabinet collections, and open a trade account for project pricing.
FAQ Section
What is a cabinet filler?
A cabinet filler is a narrow strip finished to match the cabinets that fills the gap between a cabinet and a wall, appliance, corner or ceiling. It lets standard-width cabinets fit an exact room and gives doors, drawers and handles room to open without hitting the wall or the next cabinet.
What is a filler panel in a kitchen?
A filler panel is another name for a cabinet filler, a flat finished piece installed between cabinets and walls or appliances. Some people also use the term for wider panels that cover the side of a refrigerator or dishwasher, which are more accurately called end panels or appliance panels.
What is the difference between a filler and an end panel?
A filler closes a gap in the front plane of the cabinets and provides clearance; an end panel covers the exposed side of a cabinet. Fillers are narrow and ripped to width on site, while end panels run the full height and depth of the cabinet side they cover.
Are fillers necessary for kitchen cabinets?
In most kitchens, yes. Without a filler where a cabinet meets a wall or an inside corner, doors and drawers can hit the wall, a casing or handles on the adjoining run. Fillers also absorb the difference between the room size and standard cabinet widths, which is rarely an exact match.
How wide should a cabinet filler be?
Wide enough for every door, drawer and handle to clear the wall, casing or appliance next to it, and no wider than needed. Fillers are usually cut from a stock strip and scribed on site. If the leftover space is large, a narrow cabinet or pull-out often looks better than one wide filler.
Do I need an end panel next to a dishwasher?
If the dishwasher sits at the end of a cabinet run, an end panel is usually needed to finish the side and give the countertop support at that end. Between two cabinets, the adjoining cabinets support the countertop and no panel is required.
Conclusion
Fillers and end panels are what turn standard cabinets into a kitchen that looks made for the room. Plan them on the drawing, order them with the cabinets, scribe them to the walls, and the result reads as built in. To plan a project with in-stock cabinets, visit CCC Cabinets at 2180 S Wolf Rd, Des Plaines, IL 60018 or call (872) 241-5525.
More in Cabinet Guides
Sourcing cabinets for a Chicagoland project?
CCC Cabinets supplies 15 door styles — including Mini White Shaker cabinets — at wholesale prices from our Des Plaines, IL warehouse. Confirm availability for your door style, then choose warehouse pickup near O’Hare or scheduled delivery across Chicagoland.
Door styles to explore: Mini White Shaker · Pure White · Millennium White
Browse all cabinet styles · Open a dealer account · Call (872) 241-5525 · Talk to our team