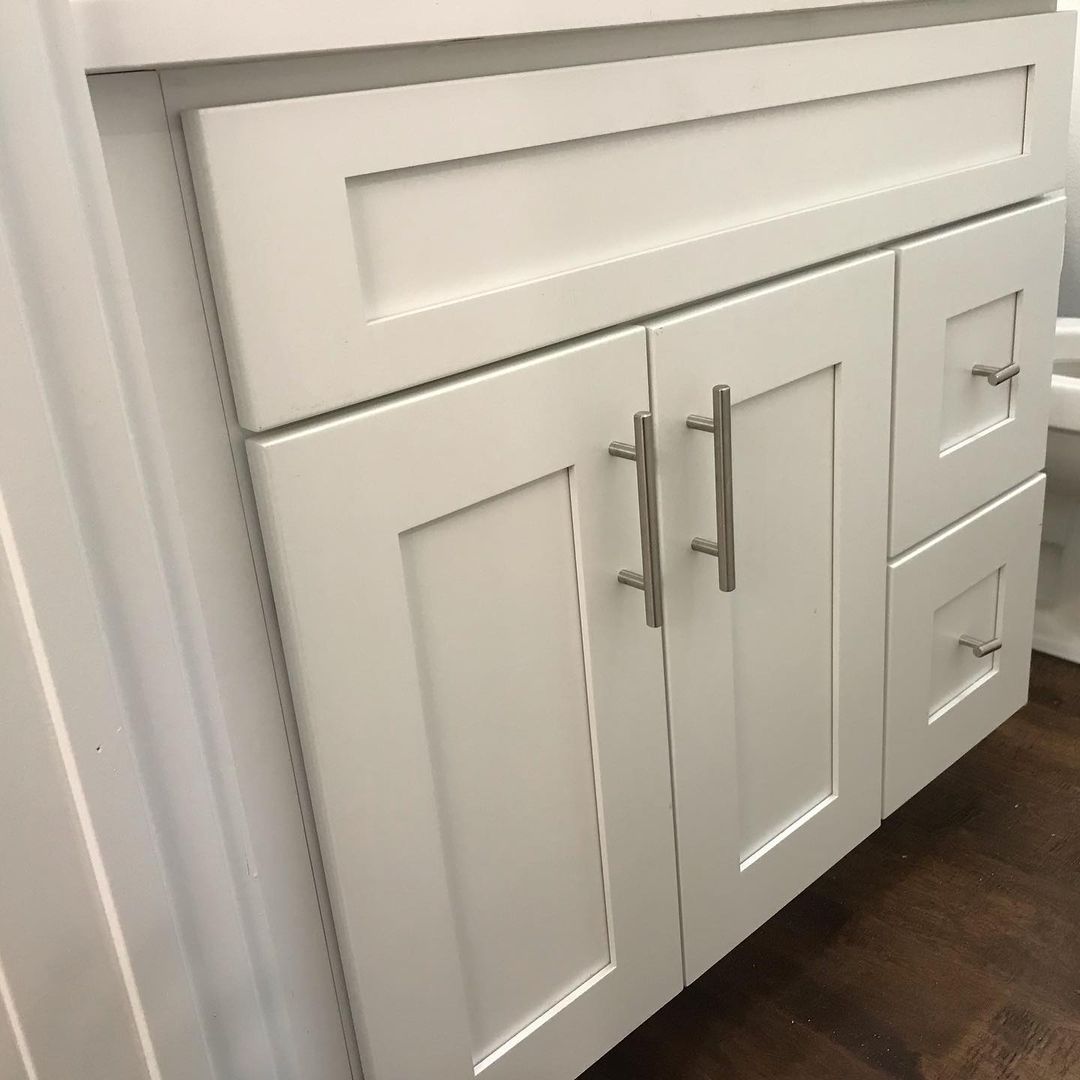
How Cabinet End Panel and Molding Installation Creates a Furniture-Quality Finish
When it comes to achieving a stunning kitchen or cabinetry design, the details matter immensely. Cabinet end panel and molding installation plays a crucial role in creating a furniture-quality finish that elevates the aesthetics and functionality of any space. This detailed guide will explore how these components contribute to a polished look, the best practices for installation, and why choosing quality materials is essential. By the end, you’ll understand how to enhance your cabinetry projects, ensuring they not only meet but exceed your clients’ expectations.
Importance of End Panels
Cabinet end panels serve as a finishing touch that can dramatically transform the overall appearance of cabinetry. They are the vertical panels that cover the exposed sides of cabinets, providing a seamless look that integrates the cabinetry into the surrounding environment. Here’s why they are so important:
- Aesthetic Appeal: End panels contribute to a clean and polished look. They help hide any unfinished edges of cabinetry, making the installation appear more professional and intentional.
- Durability: High-quality end panels protect the sides of cabinets from wear and tear, moisture damage, and other environmental factors.
- Customization: Available in various styles, colors, and finishes, end panels can be tailored to match the design of the kitchen or any living space.
To further enhance your cabinetry projects, consider exploring CCC Cabinets’ Luxury Collection, which offers a variety of stylish end panel options.
Types of Molding and Their Uses
Molding is another essential component in achieving a furniture-quality finish. It not only adds character but also serves functional purposes. Here are some common types of molding used in cabinetry:
| Type of Molding | Description | Common Uses |
|---|---|---|
| Crown Molding | Installed at the top of cabinets, it creates a seamless transition to the ceiling. | Enhances height and elegance |
| Base Molding | Located at the bottom of cabinets, it protects against scuffs and adds a finished look. | Completes the base of cabinetry |
| Chair Rail Molding | Installed horizontally on walls, it separates different wall treatments. | Used in dining areas and living rooms |
| Panel Molding | Used to create panels or frames, adding depth and dimension. | Enhances decorative aspects of cabinetry |
| Quarter Round Molding | A small, rounded molding used at the base of cabinets. | Completes edges and hides seams |
Using a combination of these moldings can significantly enhance the overall design of your cabinetry. For contractors looking for a reliable source of quality moldings, CCC Cabinets offers a range of options tailored for your needs.
Step-by-Step Installation Process
Proper installation of end panels and moldings is essential to achieving that high-quality finish. Here’s a step-by-step guide to ensure your installation is successful:
1. Prepare the Area
Ensure that the cabinet area is clean and free from any debris. Measure the space where the end panels and moldings will be installed, noting any obstacles.
2. Measure and Cut End Panels
Using a miter saw, cut the end panels to the appropriate height. Always measure twice to ensure accuracy. If you’re using solid wood end panels, consider using a table saw for cleaner cuts.
3. Secure End Panels
Attach the end panels to the cabinets using wood glue and screws. Make sure they are flush with the cabinet sides. For a more seamless appearance, consider using a nail gun.
4. Measure and Cut Molding
Measure the lengths needed for each type of molding. Use a miter saw to cut the molding at a 45-degree angle at the corners for a professional look.
5. Install Molding
Begin with the crown molding at the top of the cabinets. Secure it in place with finishing nails. Follow with base molding and any other decorative moldings.
6. Finish the Edges
Use caulk to fill any gaps between the end panels, moldings, and walls. This will give a polished, furniture-quality finish.
7. Sand and Paint/Stain
Once installed, sand any rough edges and apply paint or stain to match the rest of the cabinetry.
Essential Tools and Materials
To execute a flawless installation, having the right tools and materials is critical. Here’s a list of what you’ll need:
- Measuring tape
- Miter saw
- Table saw (optional)
- Nail gun or hammer
- Wood glue
- Screws
- Caulk
- Screwdriver
- Sanding block
- Paint or stain
Best Practices for a Professional Finish
Achieving a furniture-quality finish requires attention to detail and adherence to best practices. Here are some tips to elevate your cabinetry work:
- Choose Quality Materials: Opt for solid wood or high-quality plywood for end panels and moldings. Cheap materials can compromise the final appearance.
- Match Finishes: Ensure that the paint or stain used on the end panels and moldings matches the rest of the cabinetry to maintain a cohesive look.
- Use Paintable Caulk: For filling gaps, use paintable caulk to ensure the finish looks seamless.
- Regular Maintenance: Advise clients on how to care for their cabinetry to maintain its appearance over time.
Common Mistakes to Avoid
Even experienced contractors can make mistakes during installation. Here are a few common pitfalls to watch out for:
- Improper Measurements: Always double-check measurements before cutting materials. A small error can lead to significant problems during installation.
- Neglecting to Use a Level: Failing to ensure moldings are level can result in an unprofessional appearance.
- Using Inconsistent Finishes: Mixing different types of finishes can make cabinetry look mismatched and poorly designed.
- Rushing the Installation: Take your time with each step to ensure the highest quality finish.
Frequently Asked Questions
1. What is the purpose of cabinet end panels?
Cabinet end panels provide a finished look to exposed sides of cabinets, protecting them from damage and enhancing the overall aesthetics.
2. How do I choose the right molding for my cabinets?
Consider the style of your cabinetry and the overall design of the space. Crown molding is typically used for a traditional look, while flat trim may suit modern designs.
3. Can I install end panels and moldings myself?
Yes, with the right tools and guidance, DIY installation is feasible. However, hiring a professional ensures a flawless finish.
4. How do I maintain the appearance of my cabinetry?
Regular cleaning with mild soap and water, avoiding harsh chemicals, and periodic touch-ups with paint or stain can help maintain your cabinetry.
5. What materials are best for cabinet end panels?
Solid wood or high-quality plywood are ideal for durability and aesthetics.
6. How can I ensure my moldings are level?
Use a level during installation to ensure that all moldings are straight and properly aligned.
7. Is it necessary to paint or stain end panels?
While it’s not strictly necessary, painting or staining end panels can help them blend seamlessly with the rest of the cabinetry.
8. What are the common mistakes to avoid when installing cabinets?
Common mistakes include improper measurements, neglecting to use a level, and rushing the installation process.
More in Styles & Colors
Sourcing cabinets for a Chicagoland project?
CCC Cabinets supplies 15 door styles — including Mini Shaker Cappuccino cabinets — at wholesale prices from our Des Plaines, IL warehouse. Confirm availability for your door style, then choose warehouse pickup near O’Hare or scheduled delivery across Chicagoland.
Door styles to explore: Mini Shaker Cappuccino · Cappuccino · Dark Grey
Browse all cabinet styles · Open a dealer account · Call (872) 241-5525 · Talk to our team