The Complete Guide to Cabinet Valance and Light Rail Molding for Under-Cabinet Lighting
When it comes to kitchen design, the details make all the difference. One such detail that plays a crucial role in both aesthetics and functionality is under-cabinet lighting, enhanced significantly by the use of cabinet valances and light rail moldings. In this comprehensive guide, we will explore the various aspects of cabinet valance and light rail molding, focusing on their purpose, types, installation methods, and how they can transform your kitchen into a modern, efficient space. Whether you’re a contractor, builder, or a homeowner looking to remodel, understanding these elements will not only elevate your designs but also ensure that your projects stand out.
1. What is Cabinet Valance?
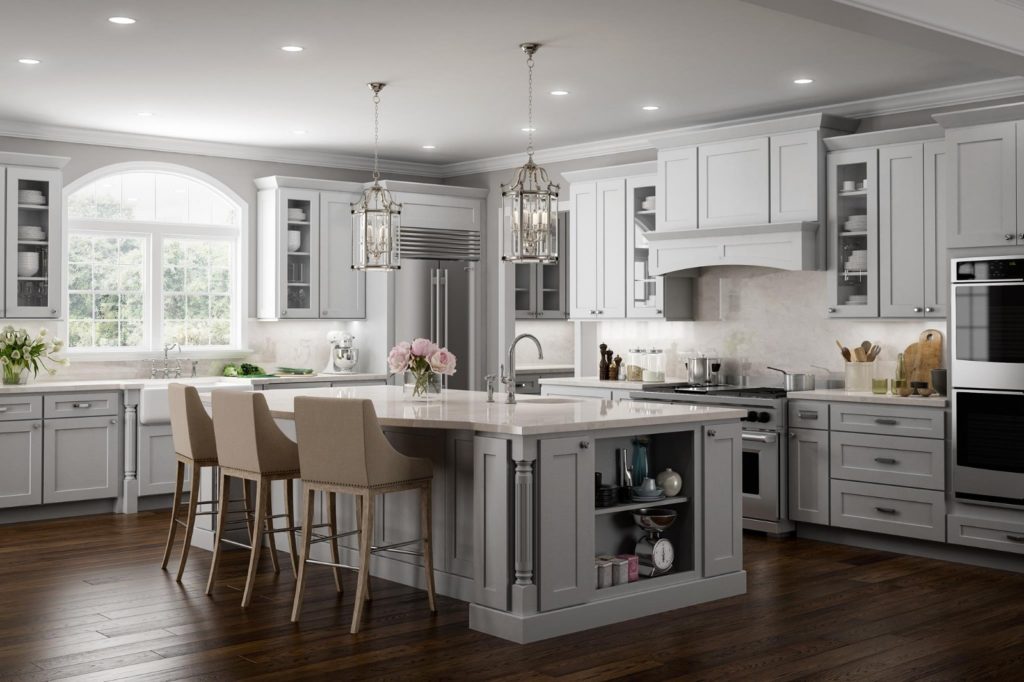
A cabinet valance is a decorative piece of trim that is installed at the bottom of kitchen cabinets, serving as a stylish transition between the cabinets and the countertop. Valances can be made from various materials, including wood, laminate, or even metal, and are often designed to match the cabinetry style. They not only add a finished look but also serve to conceal under-cabinet lighting fixtures.
Valances can be a part of various kitchen themes, from traditional to modern, and can significantly enhance the overall aesthetic of the space. For those looking to elevate their kitchen design, CCC Cabinets offers a range of cabinetry options that can complement any valance style.
2. Understanding Light Rail Molding
Light rail molding is another essential element used in conjunction with under-cabinet lighting. It is typically a narrow strip of molding installed at the bottom edge of wall cabinets, designed to conceal the light fixtures and create a softer, more diffused lighting effect. This not only enhances the kitchen’s ambiance but also protects the lighting fixtures from dust and damage.
Light rail molding can be found in various styles and materials, allowing homeowners and designers to choose the best fit for their kitchen. It is particularly beneficial in kitchens with open shelving or glass-front cabinets, where the light can be directed downward to highlight the countertops and backsplash.
3. Benefits of Using Valances and Light Rails
Integrating cabinet valances and light rail moldings into your kitchen design comes with numerous benefits:
- Enhanced Aesthetics: Both valances and light rails add a polished, finished look to your kitchen, making it appear more cohesive.
- Concealment of Lighting: They effectively hide under-cabinet lighting fixtures, creating a more streamlined appearance.
- Improved Lighting: Light rail molding helps diffuse light, reducing harsh shadows and creating an inviting atmosphere.
- Versatile Design Options: Available in various styles and materials, these elements can complement any kitchen theme.
4. Types of Valances and Light Rails
When selecting valances and light rail moldings, it’s essential to consider the different types available:
4.1 Types of Cabinet Valances
- Flat Valances: Simple and sleek, these valances provide a minimalist touch.
- Scalloped Valances: These add a decorative flair with their curved edges.
- Beaded Valances: Featuring intricate beadwork, these valances are perfect for traditional kitchens.
4.2 Types of Light Rail Molding
- Traditional Light Rails: These offer classic designs that suit conventional kitchen styles.
- Modern Light Rails: Sleek and straight, these are ideal for contemporary spaces.
- Custom Light Rails: Tailored to fit specific cabinetry, these provide a unique touch.
5. Installation Guide for Valance and Light Rail Molding
Installing cabinet valances and light rail moldings can be a straightforward process if you follow these steps:
5.1 Tools and Materials Needed
- Measuring tape
- Level
- Miter saw
- Nail gun or hammer
- Wood glue
- Paint or stain (if necessary)
5.2 Step-by-Step Installation
- Measure: Accurately measure the length of your cabinets to determine the size of the valance and light rail.
- Cut: Use a miter saw to cut the valance and light rail to the required lengths.
- Position: Hold the valance in place under the cabinets and use a level to ensure it is straight.
- Secure: Attach the valance using a nail gun or hammer, applying wood glue for added stability.
- Install Light Rail: Follow the same process for the light rail, ensuring it is aligned properly with the valance.
- Finish: Paint or stain the valance and light rail as needed to match your cabinetry.
6. Choosing the Right Materials
When selecting materials for your cabinet valance and light rail molding, consider the following:
- Wood: A popular choice for its durability and versatility. It can be painted or stained to match your cabinetry.
- Composite Materials: These offer a cost-effective alternative, often resembling wood but with added resistance to moisture.
- Metal: For a modern look, metal valances and light rails can add an industrial touch to your kitchen.
7. Maintenance and Care Tips
To keep your cabinet valances and light rail moldings looking pristine, follow these maintenance tips:
- Regular Cleaning: Dust regularly to prevent buildup. Use a damp cloth for deeper cleaning.
- Check for Damage: Inspect periodically for any signs of wear or damage, especially around light fixtures.
- Touch Up Finishes: If you notice scratches or fading, consider repainting or refinishing the surfaces to restore their appearance.
8. Frequently Asked Questions
8.1 What is the purpose of cabinet valance?
Cabinet valances serve as a decorative trim that enhances the aesthetic appeal of your kitchen while concealing under-cabinet lighting fixtures.
8.2 How do I choose the right size for a valance?
Measure the width of your cabinets and add a few inches on each side for overhang. The height typically ranges from 4 to 6 inches, depending on your design.
8.3 Can I install valance and light rail myself?
Yes, with the right tools and following a step-by-step installation guide, you can install them yourself. However, if you’re unsure, hiring a professional is always a good option.
8.4 What materials are best for light rail molding?
Wood, composite materials, and metal are all excellent options, depending on your kitchen style and budget.
8.5 How do I maintain my cabinet valances?
Regular dusting and occasional deep cleaning with a damp cloth will help maintain their appearance. Touch up any scratches or fading as necessary.
8.6 Are there specific lighting types recommended for under-cabinet use?
LED strip lights and puck lights are popular choices for under-cabinet lighting, providing even illumination and energy efficiency.
8.7 Can light rail moldings be painted?
Yes, light rail moldings can be painted or stained to match your cabinetry or to create a contrasting look.
8.8 Where can I find high-quality cabinetry and molding?
For high-quality kitchen cabinets and molding options, consider visiting CCC Cabinets, a trusted supplier in the Chicagoland area.
Conclusion
Incorporating cabinet valance and light rail molding into your kitchen design not only enhances the visual appeal but also improves functionality by providing well-distributed lighting. Choosing the right materials, styles, and installation methods is crucial to achieving a professional finish. By following the guidelines outlined in this comprehensive guide, you can ensure that your kitchen stands out with elegance and efficiency. For contractors and builders, partnering with a reliable cabinet supplier such as CCC Cabinets can greatly simplify the procurement process and ensure timely project completion. Transform your space today!
More in Kitchen Design
Sourcing cabinets for a Chicagoland project?
CCC Cabinets supplies 15 door styles — including Mini White Shaker cabinets — at wholesale prices from our Des Plaines, IL warehouse. Confirm availability for your door style, then choose warehouse pickup near O’Hare or scheduled delivery across Chicagoland.
Door styles to explore: Mini White Shaker · Mini Shaker Cappuccino · Cappuccino
Browse all cabinet styles · Open a dealer account · Call (872) 241-5525 · Talk to our team